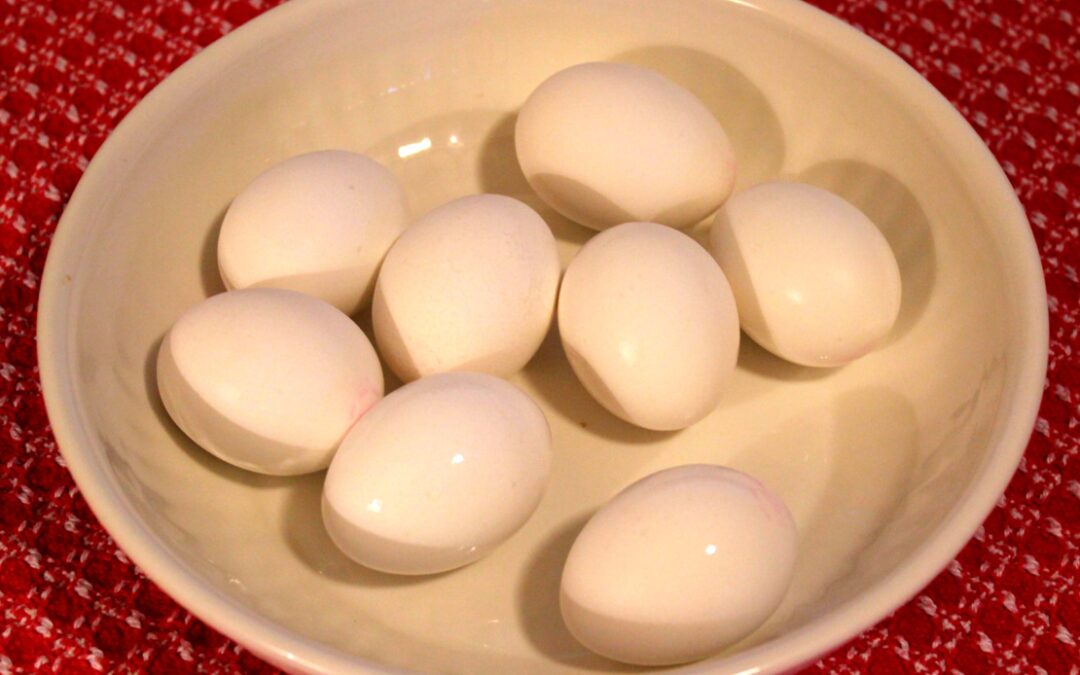
As anyone who has read my previous recipes from scratch can tell you, I always use Eggland’s Best eggs. The reason? First, I find that they taste much better — and since I’ve been eating Eggland’s Best eggs, the other brands just don’t taste right anymore. And since my family always makes deviled eggs from the leftover Easter eggs when we’re done with our Easter egg hunt, I want my eggs to be as tasty as they can be! Secondly, Eggland’s Best are higher in nutrition that most eggs — and they come from hens fed an all-vegetarian diet.
Why Hard Boiled Eggs Sometimes Crack
When eggs are heated, the outer shell heats up quickly around a core that heats more slowly, which can cause cracking. The faster the egg is heated, the more likely the shell will crack. And once the shell cracks, the liquid egg material oozes out and cooks in a nasty-looking mass on the outside of the shell — which doesn’t look very nice for hard boiled eggs, deviled eggs, Easter eggs, or anything else you planned on making.
What can’t be helped is if your eggs have cracks in them — even just hairline cracks–before you put them into the water. Eggs that already have cracks in them will most likely crack open even farther when they’re heated, no matter how careful you are. The bottom line: examine uncooked eggs carefully before trying to boil them. Any eggs with cracks, don’t hard boil — unless you don’t care about the appearance of the end product.
Best Way to Hard Boil Eggs — With the Least Chance of Cracking
- Fill a large pot–one with a wide bottom — full of cool tap water.
- Place eggs by hand, one at a time, into the pot, lying each gently on the bottom (to avoid cracking). For each batch of eggs, only place a single layer on the bottom of the pot — in other words, don’t stack eggs on top of one another, because stacked eggs are more likely to jostle during cooking, causing cracks.
- If you are hard boiling the eggs to color for Easter, add 3 tablespoons of white vinegar at this time to the water to improve the absorption of egg coloring later on.
- Turn the heat on the lowest possible temperature until the water is warmed to room temperature — about 15 minutes. Then turn heat up gradually, bringing the water to a gentle boil over the next 15 minutes. Setting a timer, boil eggs gently for 20 minutes. (I like to be sure my eggs are completely done.)
- When cooking is complete, turn off heat and allow water to cool to lukewarm.
- Remove eggs from water and allow to air dry. If you aren’t ready to use the eggs right away, place them in a protective container, cover them, and place them in the refrigerator until needed.
No method can guarantee that you won’t get cracks in your eggs during cooking, but using the above procedure will dramatically reduce the likelihood of it happening. I’ve boiled enough eggs to know what a huge difference using the right method will make.
If you love this recipe, try these next time!
How to Make the Perfect Hard Boiled Eggs — Without Cracks!

- Any Egg
- Fill a large pot–one with a wide bottom — full of cool tap water.
- Place eggs by hand, one at a time, into the pot, lying each gently on the bottom (to avoid cracking). For each batch of eggs, only place a single layer on the bottom of the pot — in other words, don’t stack eggs on top of one another, because stacked eggs are more likely to jostle during cooking, causing cracks.
- If you are hard boiling the eggs to color for Easter, add 3 tablespoons of white vinegar at this time to the water to improve the absorption of egg coloring later on.
- Turn the heat on the lowest possible temperature until the water is warmed to room temperature — about 15 minutes. Then turn heat up gradually, bringing the water to a gentle boil over the next 15 minutes. Setting a timer, boil eggs gently for 20 minutes. (I like to be sure my eggs are completely done.)
- When cooking is complete, turn off heat and allow water to cool to lukewarm.
- Remove eggs from water and allow to air dry. If you aren’t ready to use the eggs right away, place them in a protective container, cover them, and place them in the refrigerator until needed.
